The Best Brown Butter Rice Krispie Treats
There’s a nostalgia to Rice Krispie Treats that takes me back to my childhood. But what if I said you could elevate this classic to gourmet status? All you need is toasty browned butter and a little extra kosher salt! You have to try these Brown Butter Rice Krispie Treats, and you don’t even have to turn on your oven, music to my ears right now! I have a grand-nephew who isn’t a fan of frosting (I wasn’t either at his age), so we made these for a family gathering last summer. They were a hit with everyone from age 4 to 84!
What is brown butter, and how do you make it?
Brown butter, also known as “beurre noisette,” is made by cooking unsalted butter until the milk solids turn golden brown, resulting in a rich, nutty flavor. If you only have salted butter on hand, that works too, just cut the recipe’s added salt in half. To make it, melt butter in a saucepan over medium heat, stirring frequently until it foams and then turns brown, about 5-7 minutes. Remove from the heat immediately to prevent burning.
Can I use any type of rice cereal?
While classic Rice Krispies are the most common choice, you can experiment with other types of puffed rice cereals.
How long do brown butter rice crispy treats last?
When stored in an airtight container at room temperature, these treats can last about 3 to 5 days. For longer freshness, you can refrigerate them, but they may become a bit firmer and less crispy.
Can I add mix-ins to the treats?
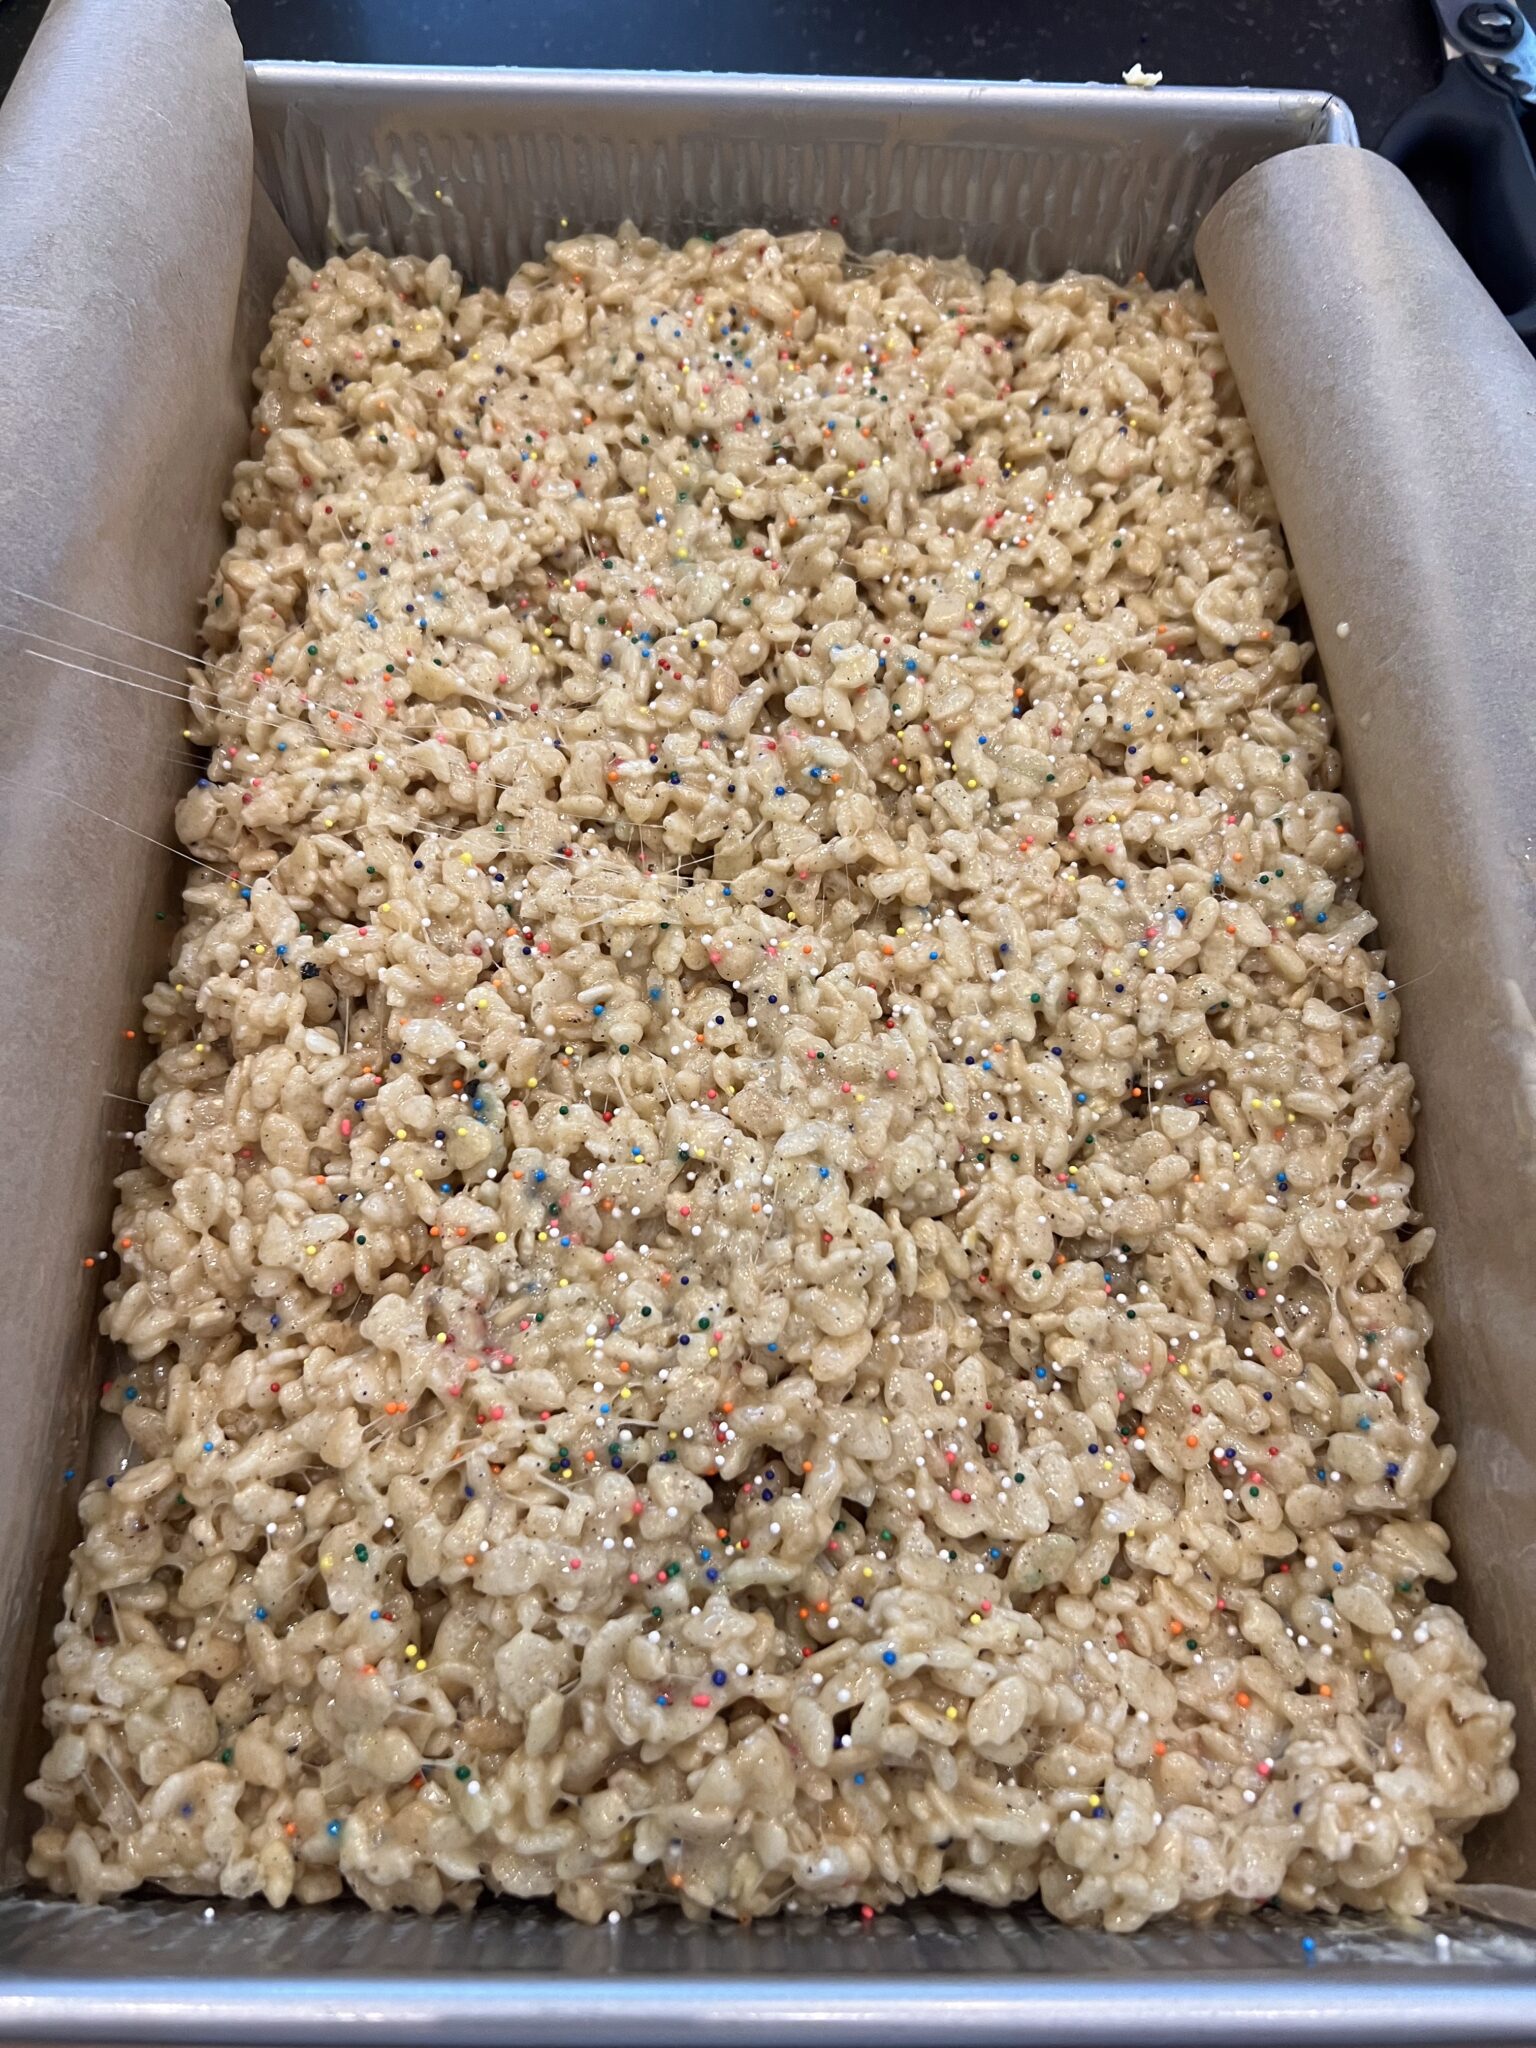
Absolutely! Feel free to add mix-ins like chocolate chips, M&Ms, sprinkles or butterscotch chips to customize your treats. Add about two tablespoons of sprinkles or a cup of candies or chocolate chips to the batter. A cup of creamy peanut butter or Biscoff is also a rich and delicious add-in.
Are these treats gluten-free?
Yes! As long as you use gluten-free rice cereal and check that your marshmallows are gluten-free, these treats are gluten-free.
What equipment do I need?
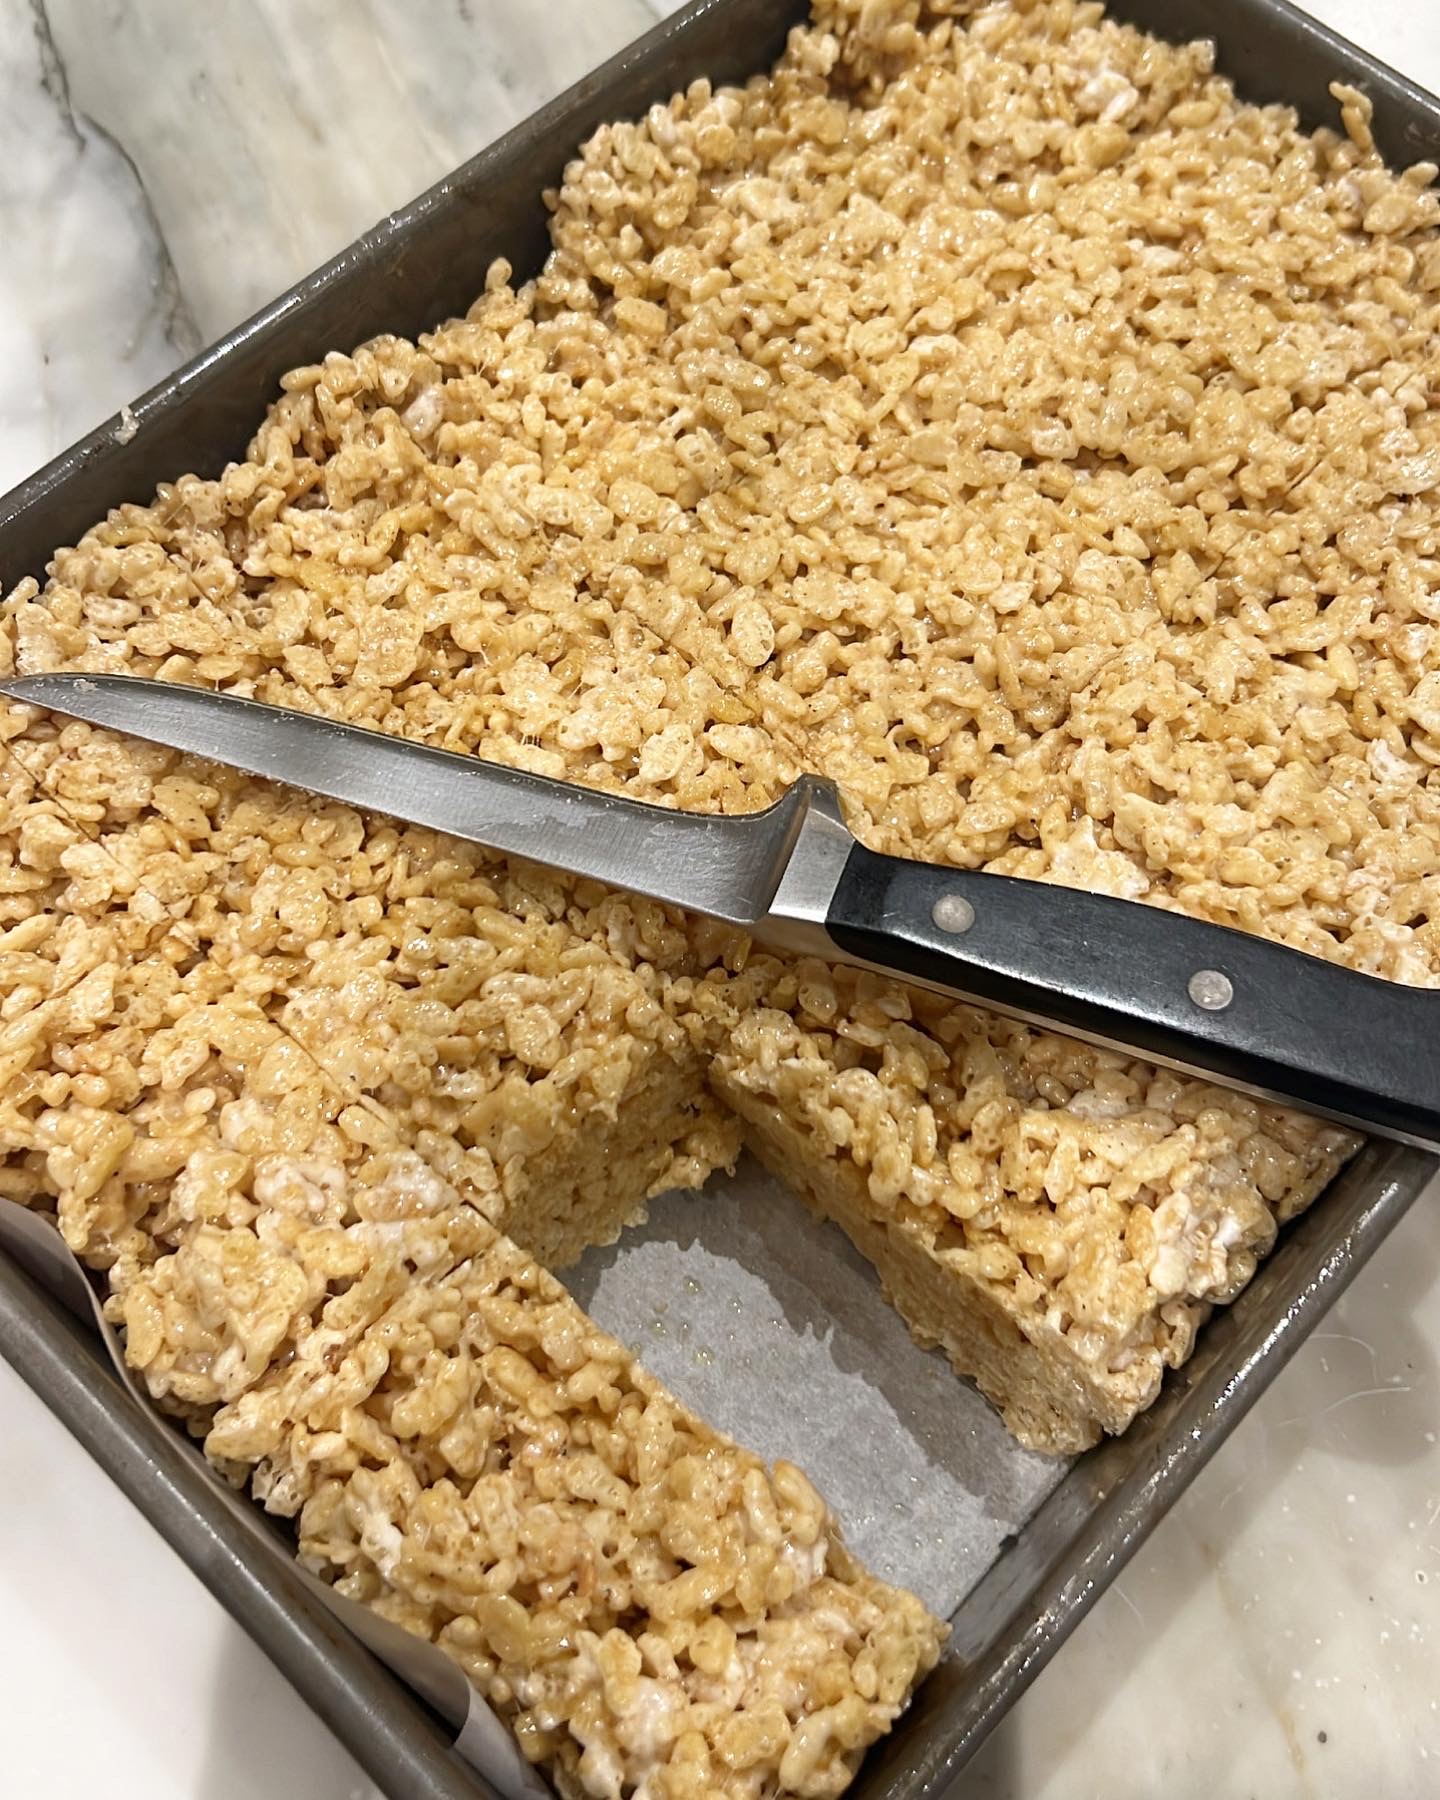
I use a metal 9×13 cake pan, but a glass Pyrex baking dish also works. I like the high, straight sides of a metal pan. Line your baking pan with sheets of parchment paper hanging over the side so it’s easy to lift out the Rice Krispie Treats and cut a bite!
Smart in the Kitchen News!
I’m enrolling students in two different cooking class series: A two-day Weeknight Bootcamp class on August 27-28 and my Six-Week Basics Series, beginning September 10. These are hands-on cooking classes in my Houston kitchen from 11 am to 1:30 pm. All the details are in this email.
Looking for more summer dessert recipes?
- Key Lime Pie
- Gluten-Free Berry Crisp
- Almost Flourless Chocolate Cake
- Salty and Sweet Chocolate Popcorn Bark
Brown Butter Rice Crispy Treats
Equipment
- 9 x 13 pan I prefer a cake pan with straight sides, but a Pyrex glass baking dish will also work.
Ingredients
- 2 sticks unsalted butter I use Kerrygold
- 2 teaspoons kosher salt
- 24 ounces marshmallows
- 6 1/2 cups rice crispy cereal or 8 cups if you'd like the bars less gooey and a little more dry in consistency
Instructions
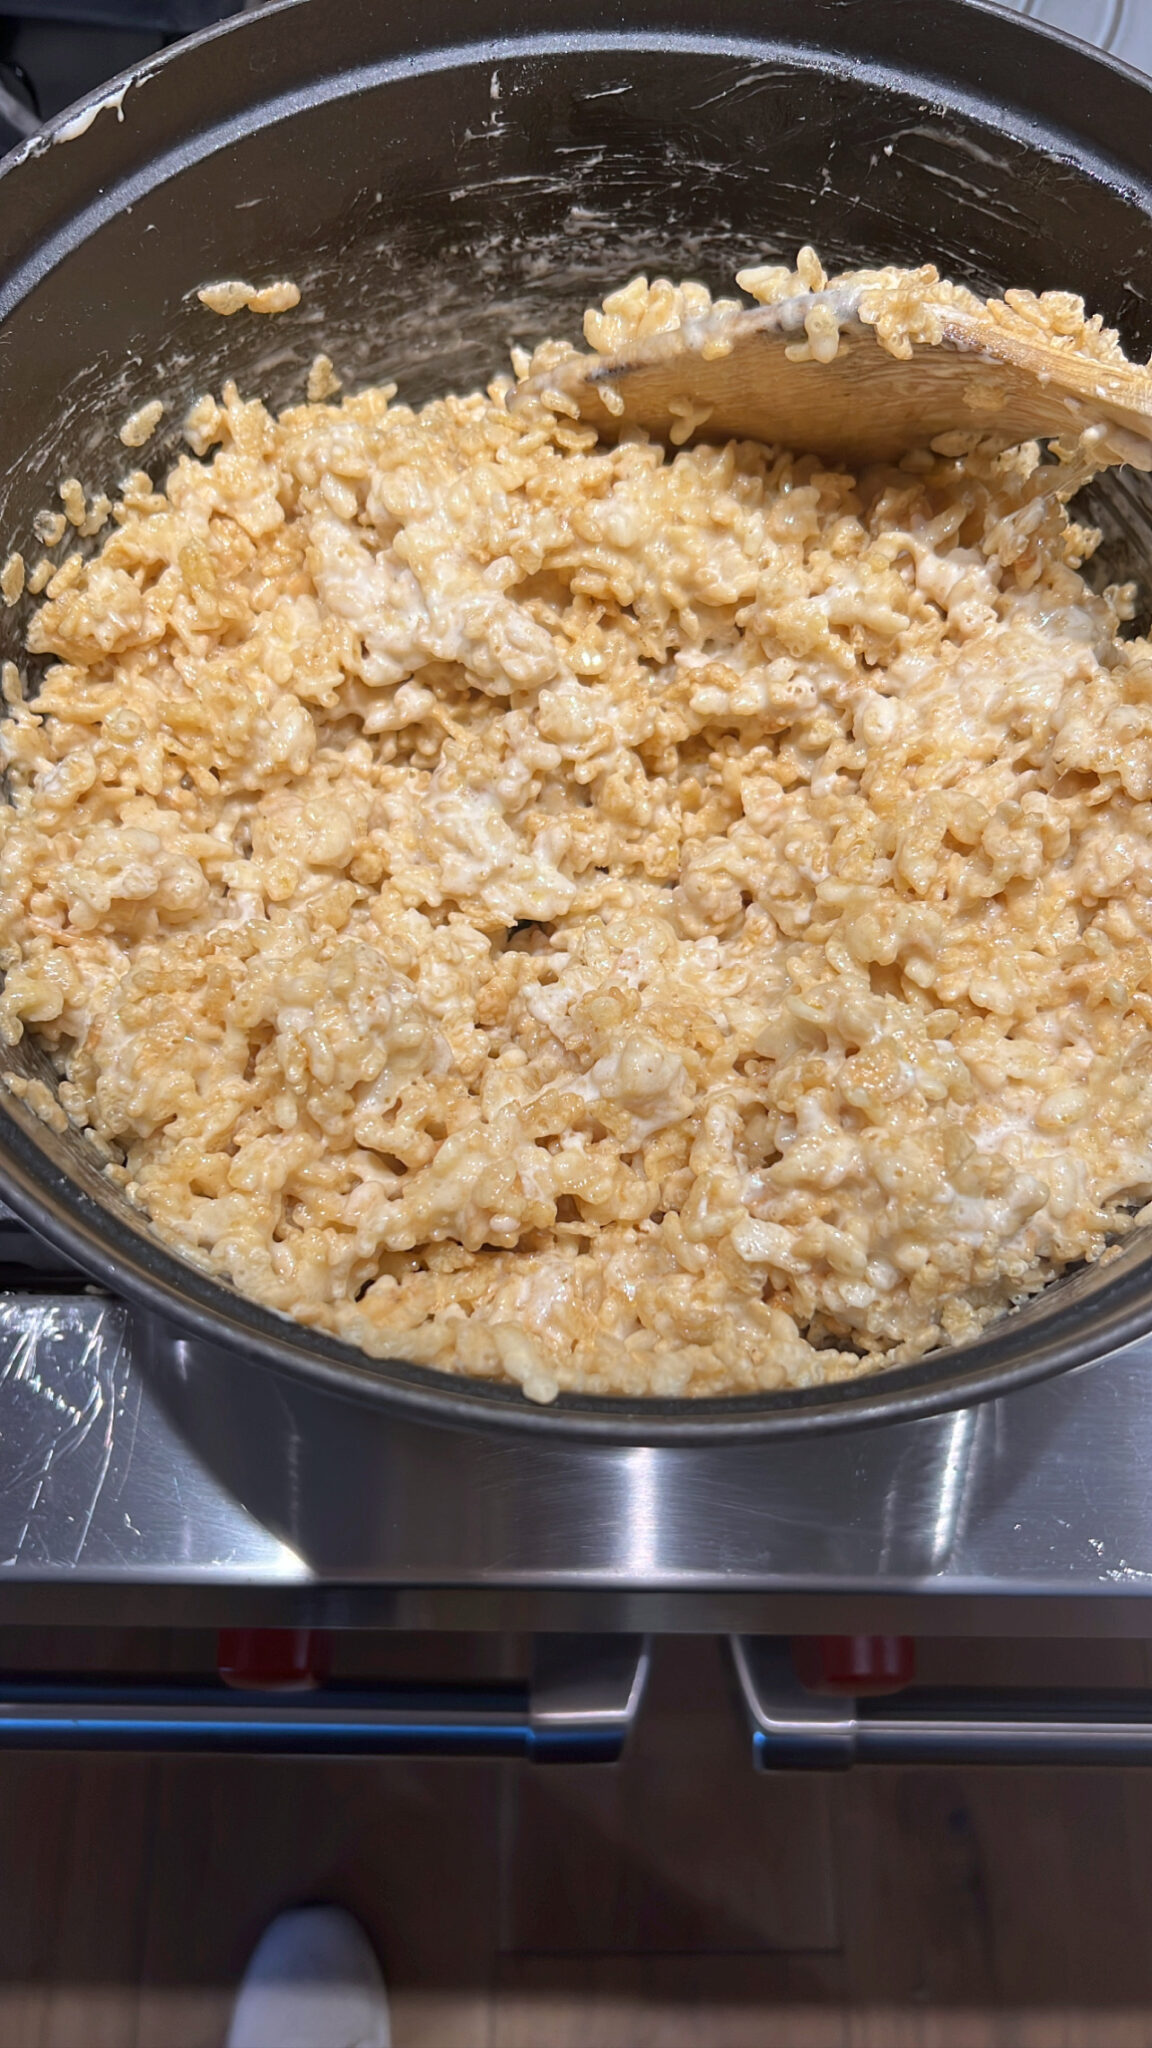
- In a large pot over medium-high heat, melt the butter. Continue to stir until the butter starts to have brown spots. I used a Staub8-quart pot because it’s heavy and will easily and evenly melt the butter. Keep stirring and cooking on medium and turn to lowest heat as soon as you see the browned flecks. You want the butter to taste nutty without smoking or tasting burnt.
- Stir in the salt and the marshmallows. Use big or small marshmallows, either way they will melt! Stir them until they are combined with the butter and ultra gooey. You will see brown flecks combine with the marshmallows – that’s what you want! That’s the brown butter, don’t worry that you’ve burnt the marshmallows!
- As soon as the marshmallows are melted, remove the pot from the heat and pour in the rice crispy cereal. Fold to combine, being careful not to smash the rice crispy cereal. You want them whole, so the finished product has more crunch and isn’t too dense.
- Spray the back of a spoon or rubber spatula with neutral-flavored cooking spray and smooth the mixture into a parchment-lined 9×13 baking pan, either metal or glass work. Chill until firm and then cut into squares.
Leave a Reply